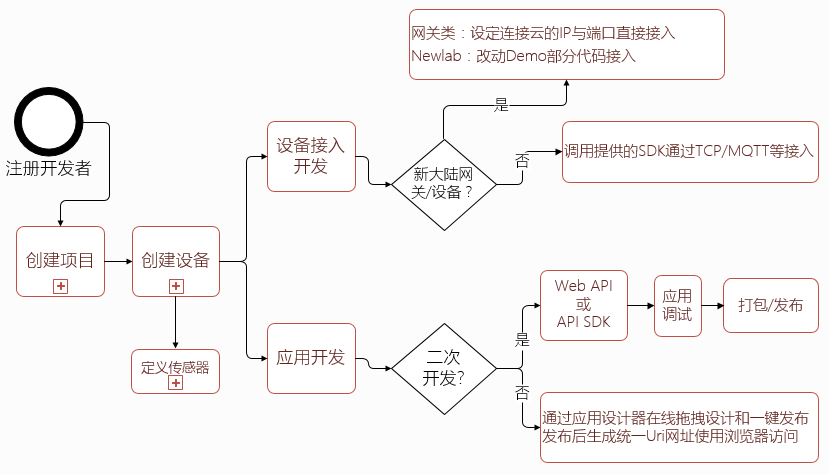
This chapter mainly introduces the access process of Newland IoT Cloud, and helps you quickly understand the access principle of the cloud platform through step-by-step detailed pictures and texts, even if you have not developed any equipment yet.
Before using the cloud platform, you need to register an account and click "New User Registration" in
the upper right corner (divided into "School User Registration", "Enterprise User Registration" and
"Individual Registration"), as shown in the following figure:
 School User Registration
After clicking New User Registration, the page will be redirected to the School User Registration
window, as follows:
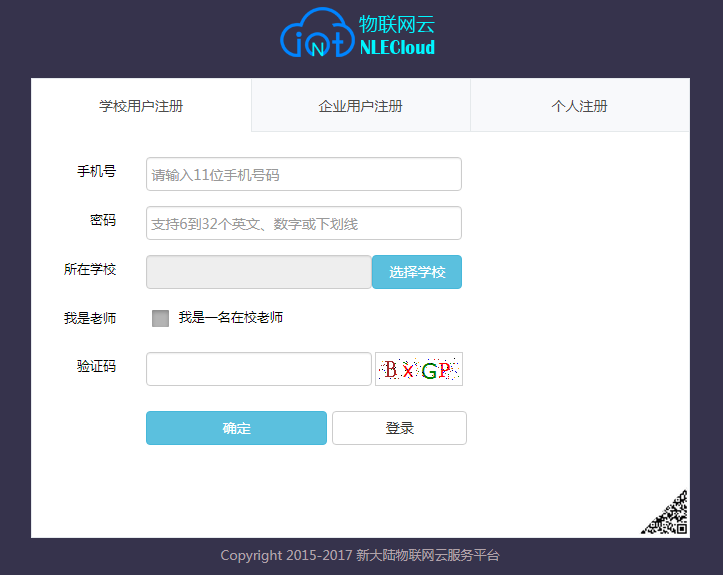
Fill in the user registration information, mobile phone number, password, select school, verification
code can not be empty, if it is a teacher, check "I am a teacher", if it is a student identity, you do
not need to check it. After filling in the form, click "OK", which will be displayed as follows:
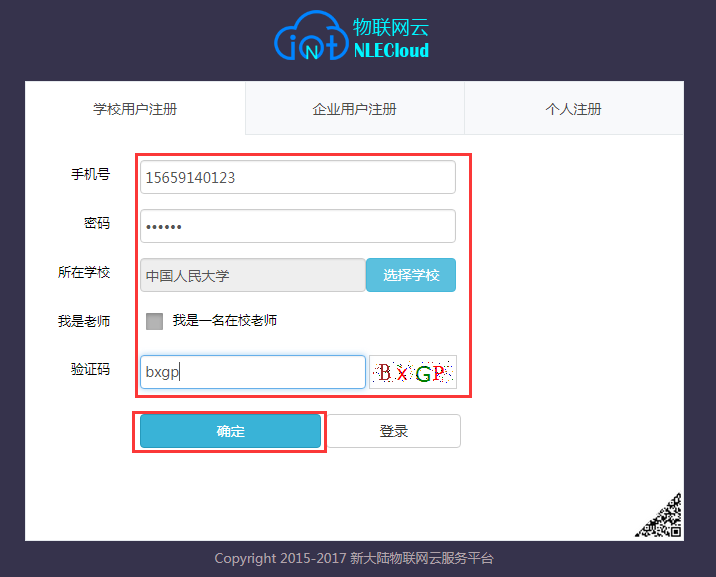
After successful registration, you will be automatically redirected to the main interface of "Developer Center".
Enterprise user registration
After clicking New User Registration, the page will jump to the School User Registration window, and
select the Enterprise User Registration window as follows:
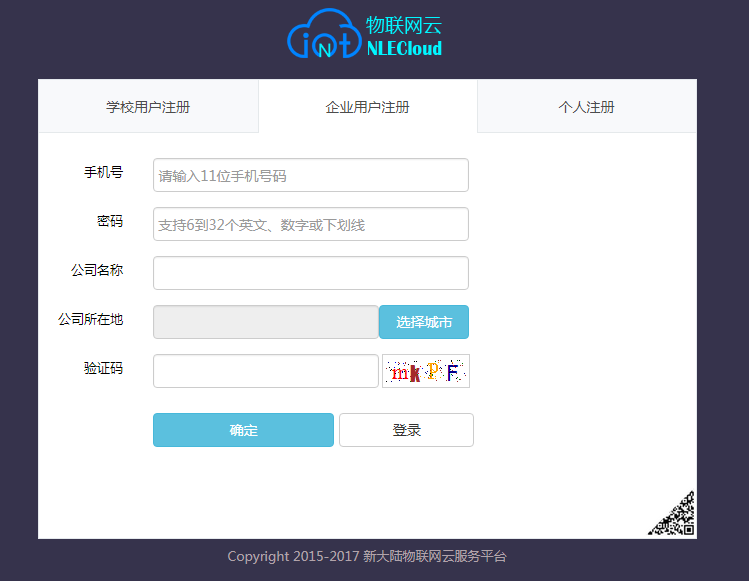
Fill in the user registration information, mobile phone number, password, company name, select the city
where the company is located and the verification code can not be empty, after filling in completely,
click "OK", it will be displayed as follows:

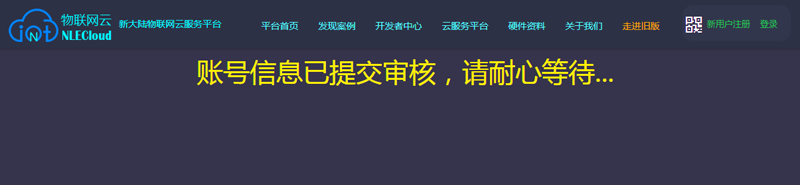
After successful registration, you will be redirected to the page that displays the words "Account
information submitted for review", and you can log in to the cloud platform only after the administrator
has verified your identity.
 Individual registration
After clicking New User Registration, the page jumps to the School User Registration window, and selects
the Individual Registration window as follows:
Fill in the user registration information, mobile phone number, password and verification code can not
be empty, after filling in completely, click "OK", the display is as follows:
After successful registration, you will be automatically redirected to the main interface of "Developer Center".
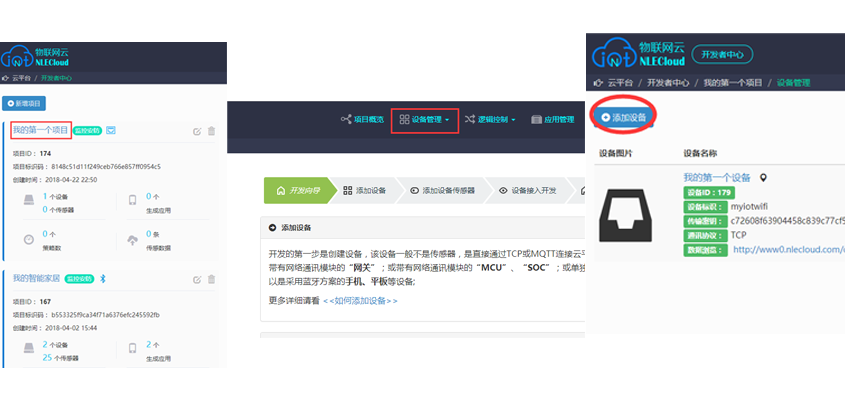
After passing the above registration, you will enter the main interface of Developer Center - > Project
Management, and then in order to successfully complete the development of the whole process, you first
need to create your own project;
On the Project Management page, click Create Project to pop up the Create Project subpage

Project name: You can define a name that is easier to remember
Industry category: Select which industry the project is biased towards IoT
Networking solution: The network environment in which your device is ready to
connect to the cloud platform
Enter the above information, and then click "Next", when you click Next, the project will be
successfully created, and for convenience, the platform will jump to the sub-page of "Create Device", so
that you can also create the device by the way, see the next section to create a device for details
After clicking "Create Project" in the previous section, you will be redirected to the sub-page of
"Create Device", as shown in the figure:

device name: Enter a memorable name
communication protocol: The platform provides three ways for devices to
access, TCP is understood as conventional socket programming;
MQTT is an instant messaging protocol developed by IBM, which uses the publish/subscribe message mode
based on TCP/IP, which has the characteristics of small transmission, low overhead and message
publishing quality.
HTTP uses a simulated API request method and does not need to establish a so-called "device connection"
to directly upload data to the platform, because in the HTTP packets sent, the corresponding fields will
be set aside to indicate which device the data needs to be uploaded to.
For more details, please go to the section device
access
device identifier:
The platform supports Newland devices and any third-party device access at the same time, and the device
identification is unique in the whole world, which is found or defined according to the following
conditions:
a) "Newland Gateway" and other devices (the serial number in the gateway →
[Parameter Settings] → [System Parameters]);
b) "Newland Agricultural Gateway" and other devices (enter the gateway IP in
the browser → login to the gateway → setting page - > the device number in [Device Status]);
c) "Newland Home Gateway" and other devices (Newland Home Tablet → login →
main interface → a line of serial numbers in the upper left corner of the interface);
d) "other MCU or SOC and other devices", you can enter a unique identifier
for connecting with the platform;
Enter the required information above and click "OK to add device" to complete the addition of a device
under this project.
Of course, you can also enter the Create Device page in a few clicks, click on the title of a project to
enter the project overview page in the project list page, and then click the "Device Management" menu at
the top
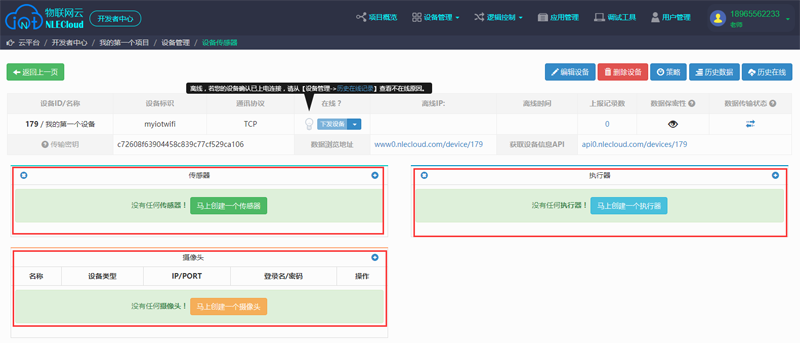
The sensor described here is a general term, which can be a real sensor device, actuator,
camera, RFID, LED or a virtual attribute of a function of the above sensor
(such as RGB lamp: you can define the switch, red, green, blue four functions of sensor data) and so on.
The sensor is collected by the device and transmitted to the cloud platform for data
storage and processing.
The unified entry to add a sensor is a certain project - > device list page - > click the device title
to connect (or the sensor management icon on the right) - > the sensor management page, as shown in the
figure:

 Click "Create a sensor now" or the "Add New" icon in the upper right corner of the table to pop up the
Add Sensor floating window, you can add multiple types of sensors, or you can define them by sensor
function attributes, of course, the form options of the pop-up window may be different:
Click "Create a sensor now" or the "Add New" icon in the upper right corner of the table to pop up the
Add Sensor floating window, you can add multiple types of sensors, or you can define them by sensor
function attributes, of course, the form options of the pop-up window may be different:
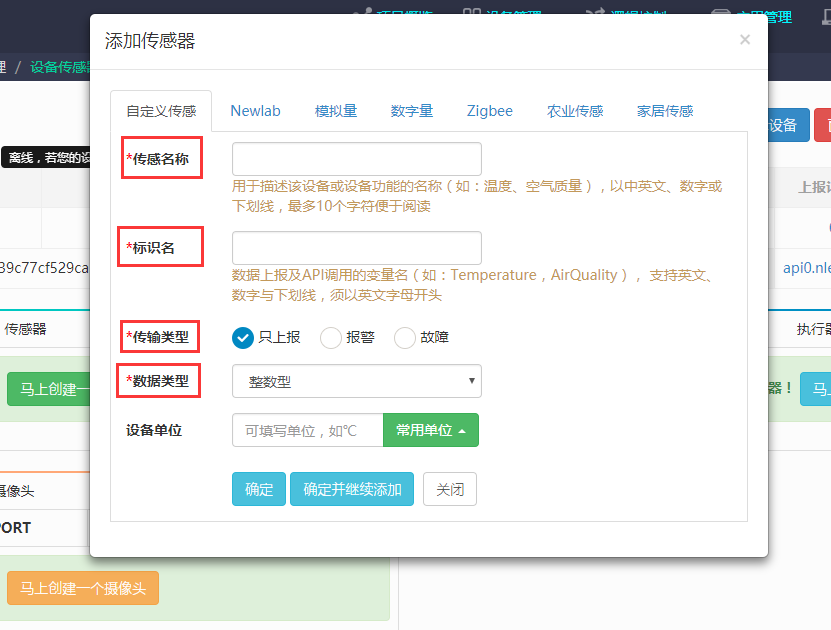
However, the form roughly contains the following options (where the home gateway
type pops up the mode of searching for sensors).
Other types of sensors may also include channel number or serial number, etc., and there is a detailed
description of the general device for this field, such as the sensor connection ADAM4017 the I/O module
is a VIN interface, or the serial number when networking, etc.,
After filling in, click "OK" to add successfully, and click "OK and continue to add" to continue adding
multiple without closing this window.
Note: The steps to define actuators, cameras, etc. are similar.
Device access development mainly realizes the connection and data interaction between the developer's
actual terminal device and the cloud platform. After you complete the preceding steps to create a
project, device, or sensor, you can select the corresponding hardware access development based on the
protocol type (TCP, MQTT, HTTP) of the device you want to create.
Generally, the development is mainly to realize data collection, device connection, data upload, control
and other code work, the access mode can be TCP, MQTT, HTTP, etc., and the communication mode can be
common 3G/4G, WIFI, Ethernet port, etc.; During the encoding process, you can use the SDK provided in
the "Device Access" section to encapsulate the data.
Note: The device using Newland has been coded, and you only need to configure the
IP and port to connect to the cloud platform to directly access the
For details, go to "Device Access".
Application development is mainly through the native Rsetful API or SDK and other ways to achieve data
docking, data analysis, remote monitoring, etc. with the cloud platform, combined with their own needs,
to achieve the development of related product applications, to achieve application development, there
are several three ways:
Method 1: "Cloud Platform Application Designer", the tool provides functions such as online drag
control, one-click publishing, and provides curve charts, bar charts, spider web diagrams, locations,
switches, watch faces, controls, etc., to quickly realize the development and browsing of WebAPP, and
support compatible with PCs or mobile devices;
Method 2: The developer only needs to call the SDK provided by the cloud platform in the application
being developed to quickly develop the APP.
Method 3: Use the RESTful API interface provided by the platform to code for APP development;
Regardless of the above methods, the first step in application development is to first have an
APIKEY, each user has only one and has an expiration time limit, and its role is the unique
credential when designing and browsing the application.
On the Developer Center -> Personal Center -> ApiKey Management
page, click the "Generate" button on the page, select a time limit, and then "Submit" to
create an apikey
 Here we will mainly explain the steps of method 1, method 2 and method 3, please move to the "application development" chapter
"Call SDK for application development",
"Request RESTful API for App Development".
Here we will mainly explain the steps of method 1, method 2 and method 3, please move to the "application development" chapter
"Call SDK for application development",
"Request RESTful API for App Development".
Go to the application management page and click "Add Application" to jump to the new application
interface, as follows:

After filling in the form, click "OK" and the addition is successful.
The application module selection is not "self-designed", directly click the publish icon, and you can
browse it after publishing; Select "Design Yourself" and click on the "Design" link to the right of each
app list to connect to the "App Designer" tool page.

 After the design is completed, you can click the "Save" button in the upper right corner to save the
layout of the design area, and if you want to publish it immediately, you can check the "Publish the
project at the same time" checkbox on the right.
After the design is completed, you can click the "Save" button in the upper right corner to save the
layout of the design area, and if you want to publish it immediately, you can check the "Publish the
project at the same time" checkbox on the right.
For apps that have not yet been published in the app designer, you can also click the "Publish" button
on the app list page to generate an app file and store it on the server for online browsing

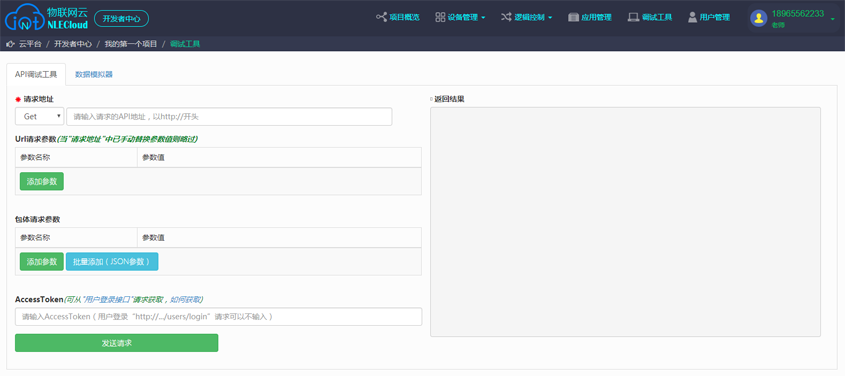
At present, functional debugging mainly includes "API debugging tool" and "data simulator"
 Virtual device (under development): You can specify the scope of data to be sent and
the interval between sending data, and after the sending is successful, the historical sending record
will be displayed on the right;
Virtual device (under development): You can specify the scope of data to be sent and
the interval between sending data, and after the sending is successful, the historical sending record
will be displayed on the right;
API debugging tool: used to debug
specified API interfaces online during application development, and can output real data and formats for
reference.
The project identification code is useless for the time being
Definition: Device ID, when a device is created, an ID will be automatically assigned, which is unique to the whole network, and is used to bind with the user and obtain the device and other API parameters for application development
Definition: When a device is created, it can be defined as the MAC address of the device or a custom string of less than 30 bits to distinguish other devices from other devices
Definition: The transmission key, the proof that the device terminal such as the 'gateway' is connected to the cloud platform is used to confirm the user's identity and permissions.
Definition: sensor identifier name, variable name used for data reporting and API calls (e.g., Temperature, AirQuality)
Definition: The application identifier, which is used for the unique identifier of the application and the key code used to browse the application